Self-host Your Own VPN Using PiVPN
By Blogger
· 128 views
Wed, 19 Feb 2025 15:50:46 +0530
If you've ever wanted a secure way to access your home network remotely, whether for SSH access, private browsing, or simply keeping your data encrypted on public Wi-Fi, self-hosting a VPN is the way to go.
While commercial VPN services exist, hosting your own gives you complete control and ensures your data isn't being logged by a third party.
I’m using a Linode VPS for this guide, but if you're running this on your home network, make sure your router allows port forwarding.

Get started on Linode with a $100, 60-day credit for new users.
What is PiVPN?
PiVPN is a lightweight, open-source project designed to simplify setting up a VPN server on a Raspberry Pi or any Debian-based system.
It supports WireGuard and OpenVPN, allowing you to create a secure, private tunnel to your home network or VPS.
The best part? PiVPN takes care of the heavy lifting with a one-command installer and built-in security settings.
With PiVPN, you can:
- Securely access your home network from anywhere
- Encrypt your internet traffic on untrusted networks (coffee shops, airports, etc.)
- Avoid ISP snooping by routing traffic through a VPS
- Run it alongside Pi-hole for an ad-free, secure browsing experience
PiVPN makes self-hosting a VPN accessible, even if you’re not a networking expert. Now, let’s get started with setting it up.
Installing PiVPN
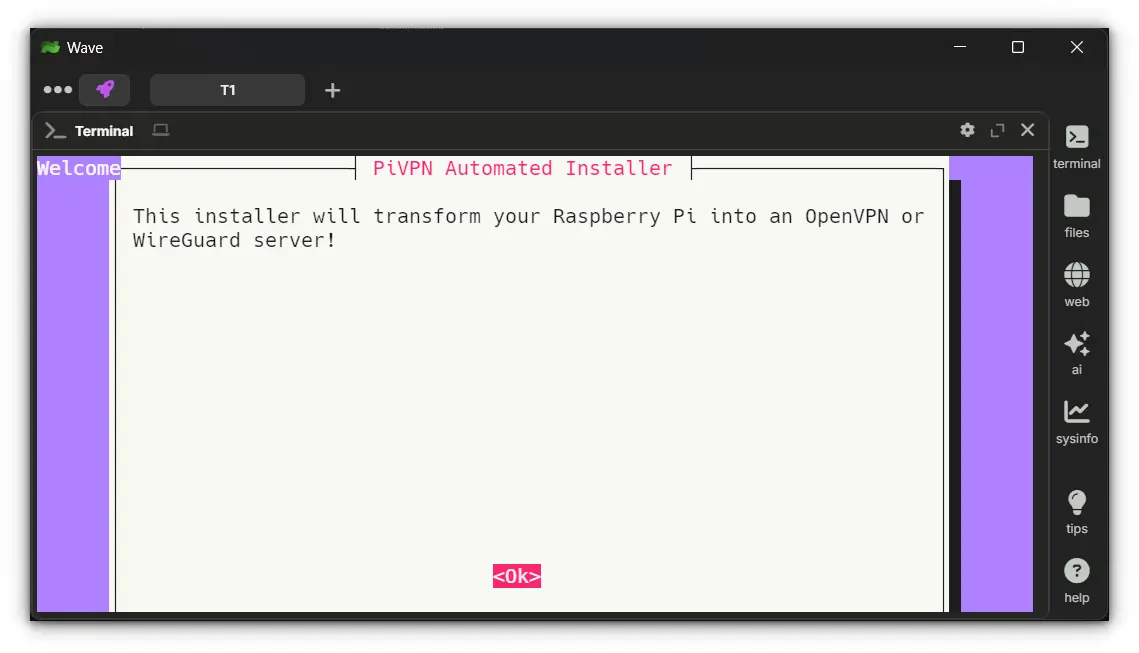
Now that we've handled the prerequisites, it's time to install PiVPN. The installation process is incredibly simple.
Open a terminal on your server and run:
curl -L https://install.pivpn.io | bash
This command will launch an interactive installer that will guide you through the setup.
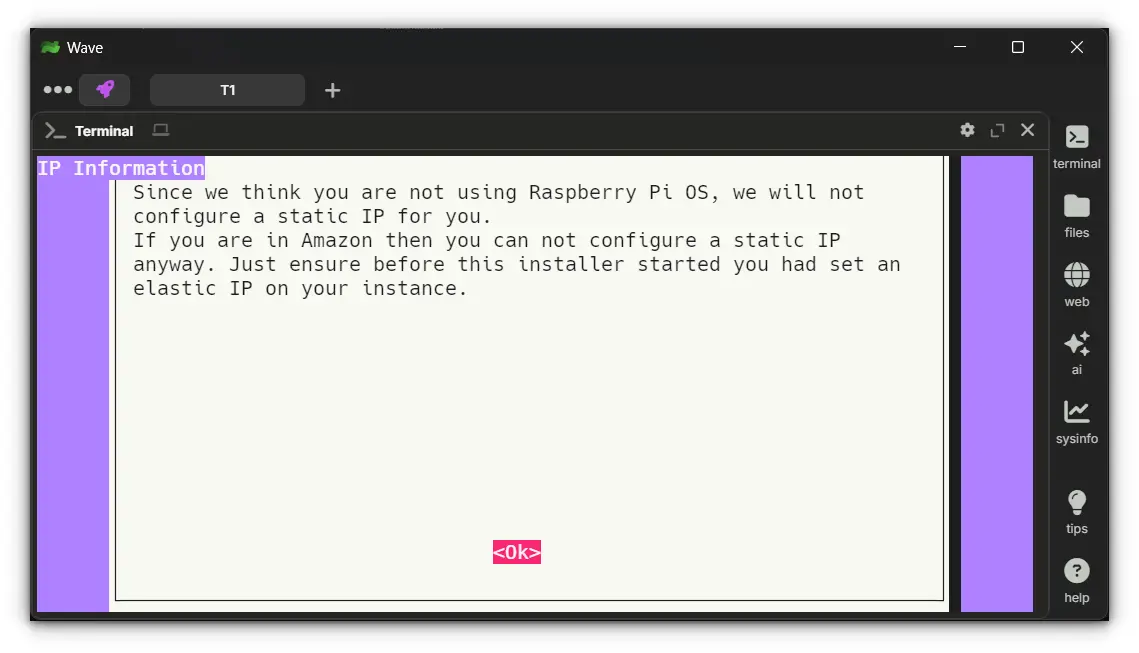
1. Assign a Static IP Address
You'll be prompted to ensure your server has a static IP. If your local IP changes, your port forwarding rules will break, rendering the VPN useless.
If running this on a VPS, the external IP is usually static.
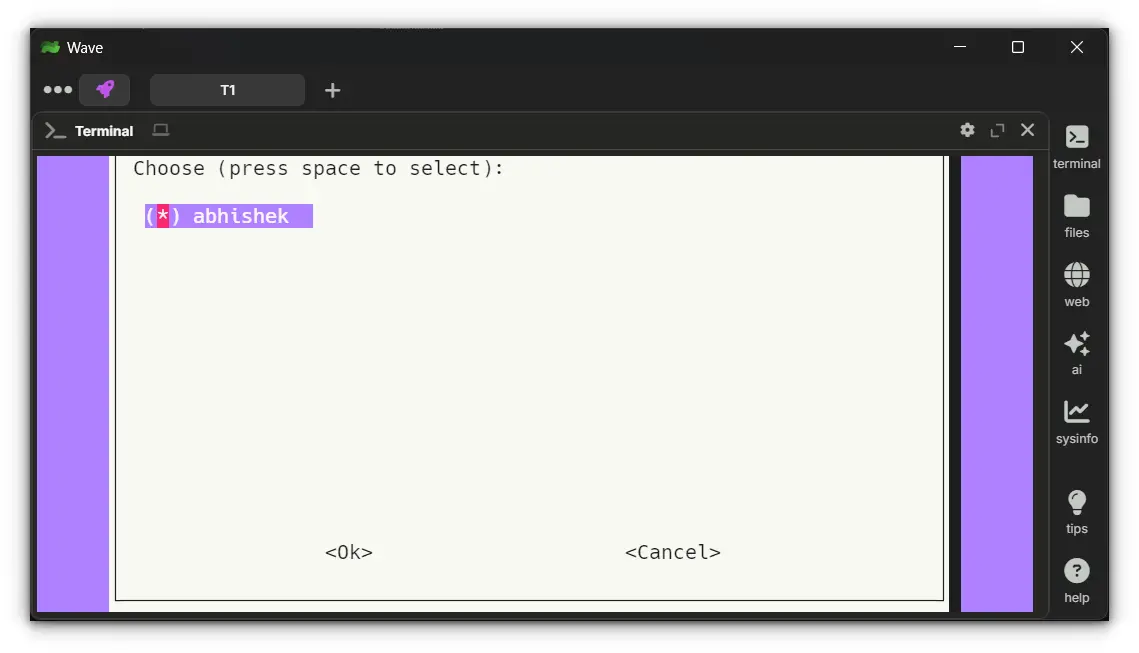
2. Choose a User
Select the user that PiVPN should be installed under. If this is a dedicated server for VPN use, the default user is fine.
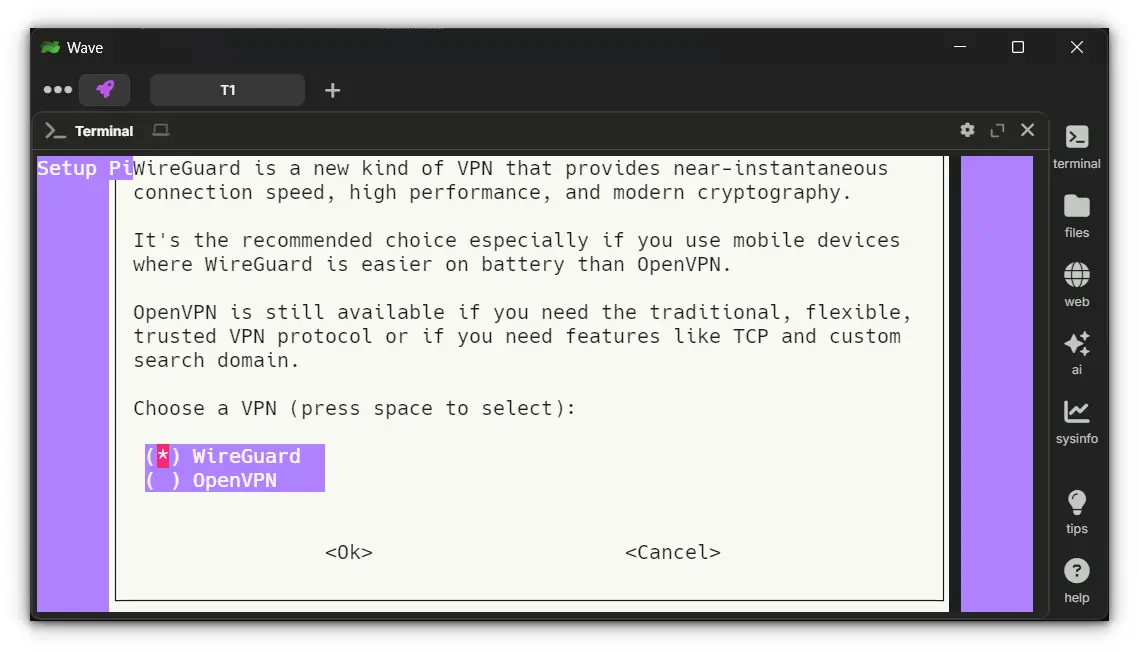
3. Choose a VPN Type: WireGuard or OpenVPN
PiVPN supports both WireGuard and OpenVPN. For this guide, I'll go with WireGuard, but you can choose OpenVPN if needed.
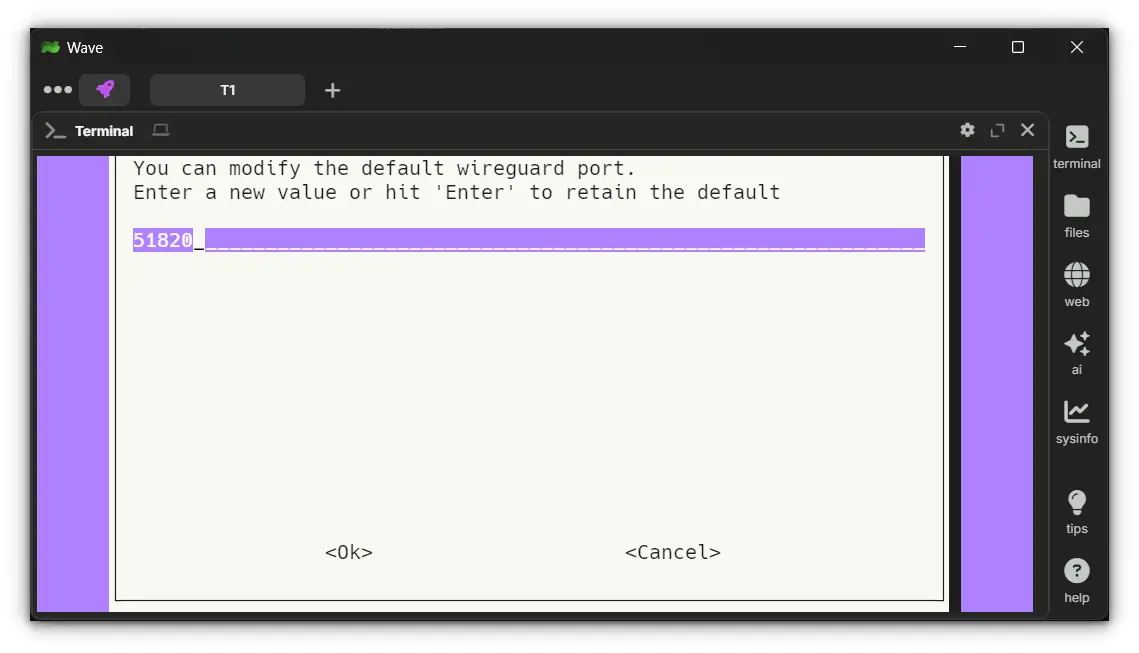
4. Select the VPN Port
You'll need to specify the port, for WireGuard, this defaults to 51820 (this is the same port which you need to forward on your router)
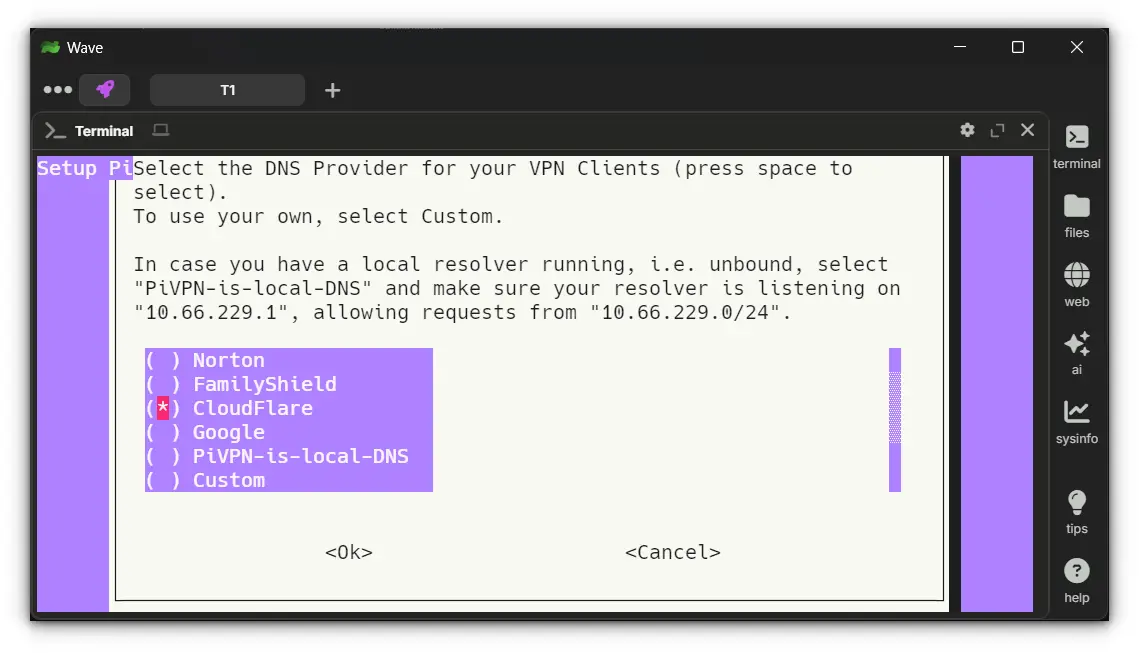
5. Choose a DNS Provider
PiVPN will ask which DNS provider to use. If you have a self-hosted DNS, select "Custom" and enter the IP. Otherwise, pick from options like Google, Cloudflare, or OpenDNS.
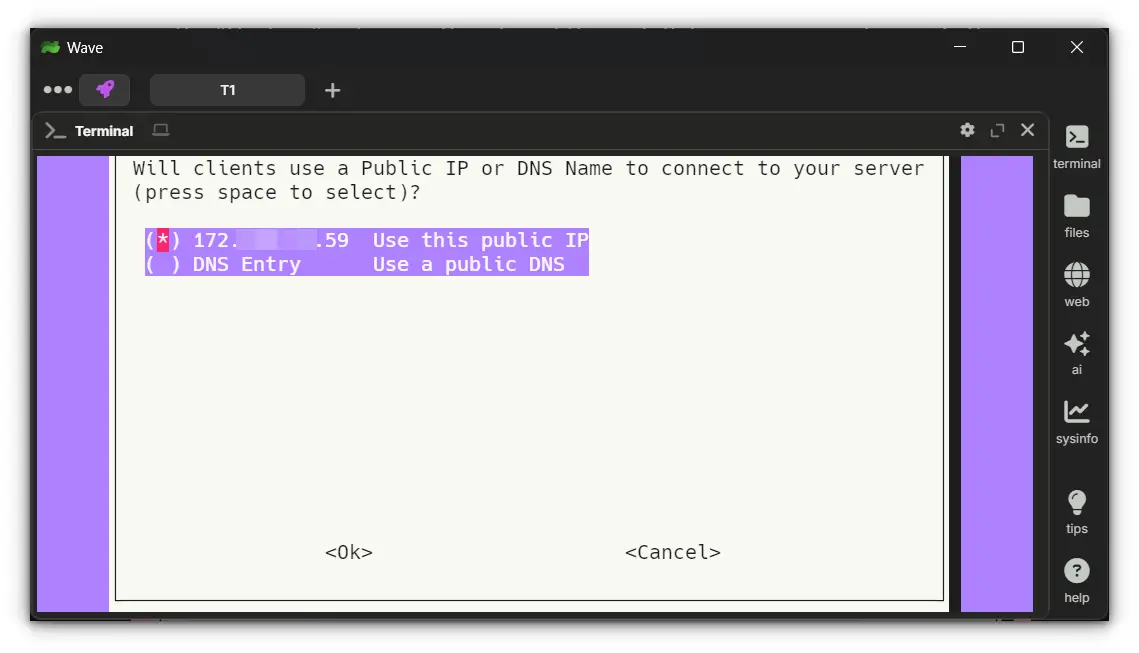
6. Public IP vs. Dynamic DNS
If you have a static public IP, select that option. If your ISP gives you a dynamic IP, use a Dynamic DNS (DDNS) service to map a hostname to your changing IP.
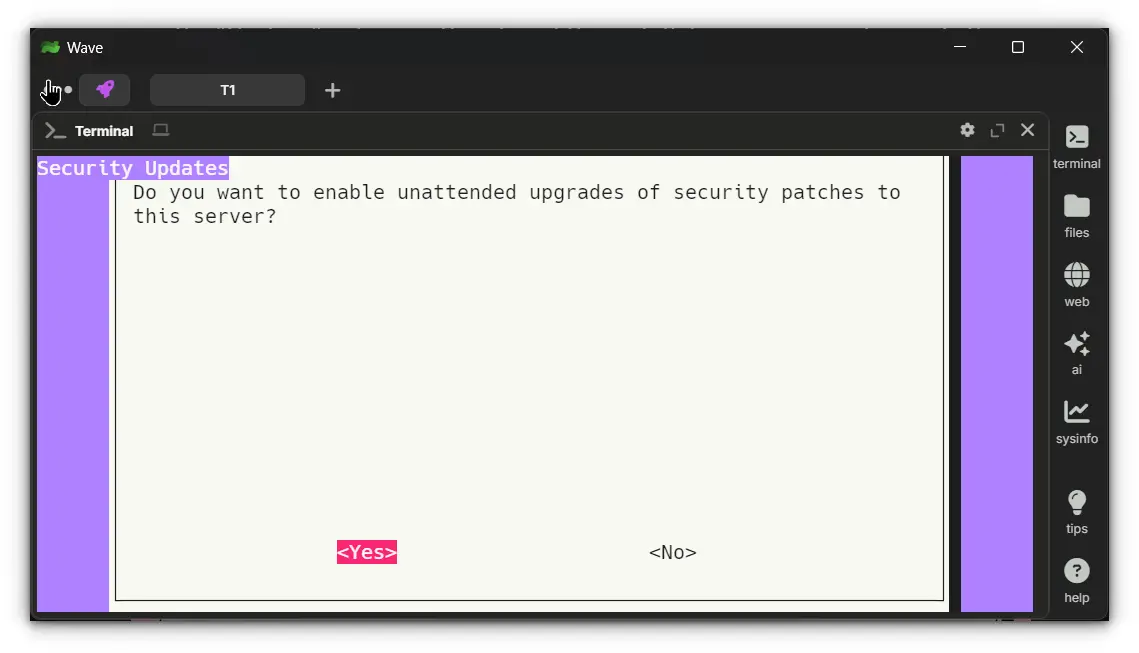
7. Enable Unattended Upgrades
For security, it's a good idea to enable automatic updates. VPN servers are a crucial entry point to your network, so keeping them updated reduces vulnerabilities.
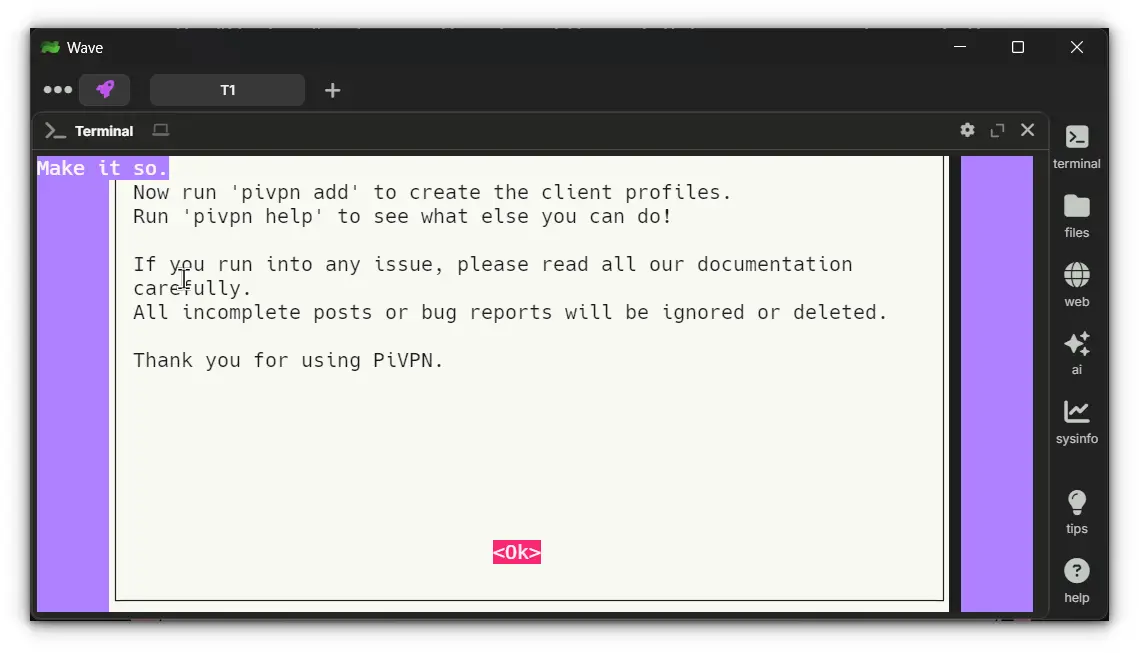
After these steps, PiVPN will complete the installation.
Creating VPN profiles
Now that the VPN is up and running, we need to create client profiles for devices that will connect to it.
Run the following command:
pivpn add
You'll be asked to enter a name for the client profile.
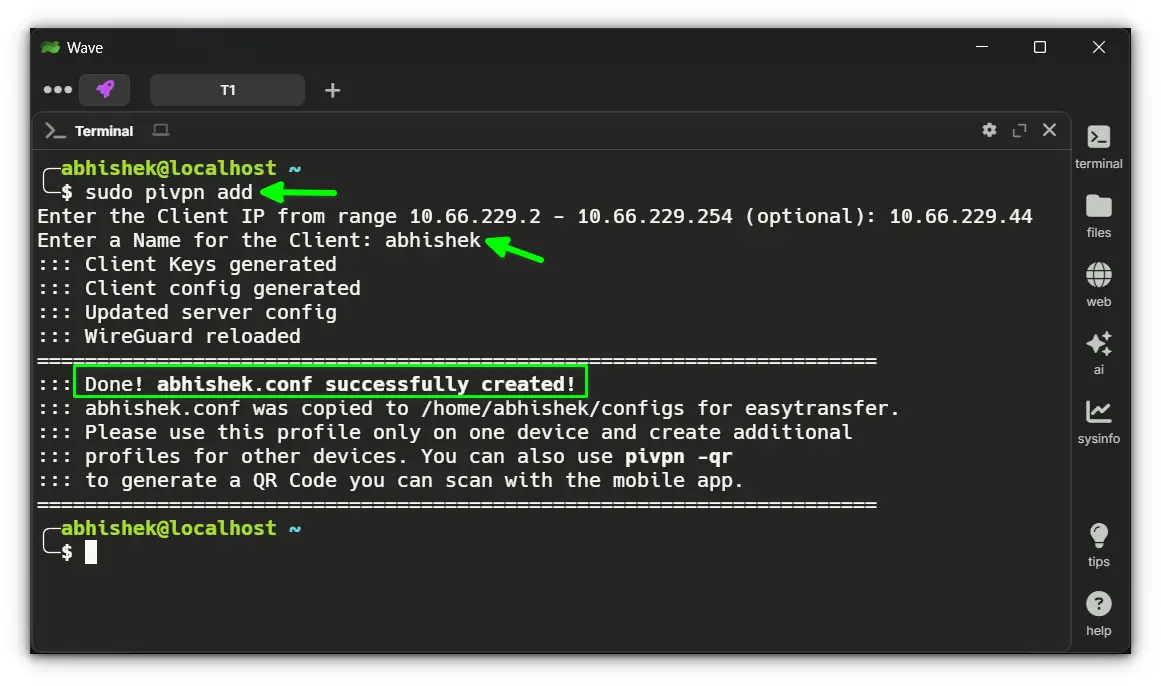
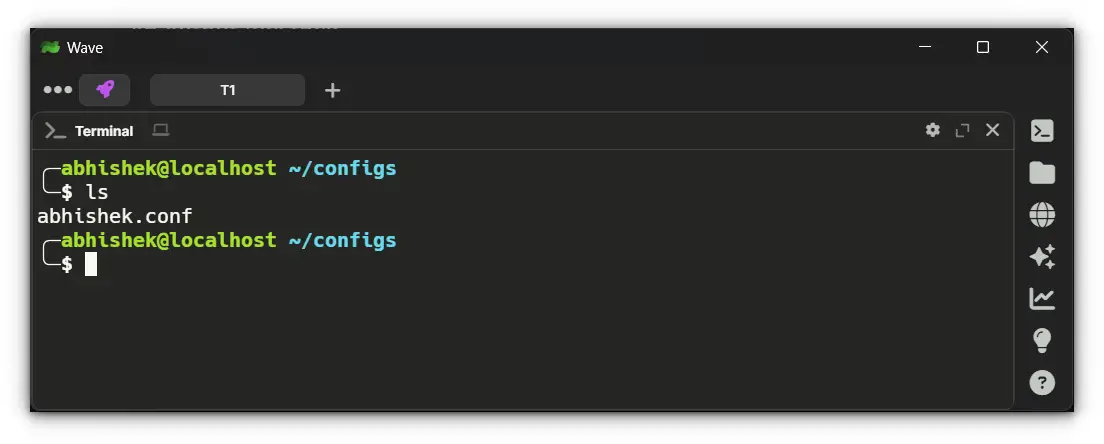
Once created, the profile file will be stored in:
/home/<user>/configs/
Connecting devices
On Mobile (WireGuard App)

- Install the WireGuard app from the Play Store or App Store.
- Transfer the
.conffile to your phone (via email, Airdrop, or a file manager). - Import it into the WireGuard app and activate the connection.
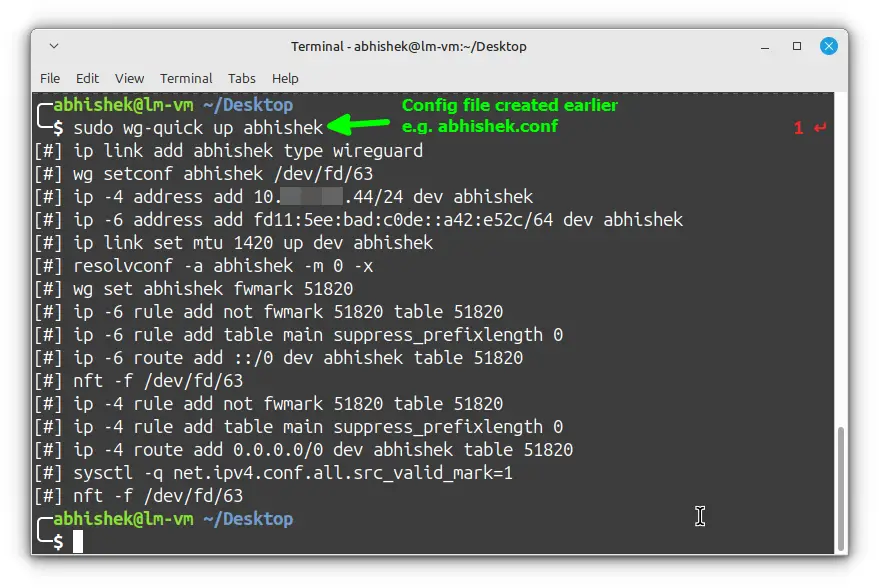
On Desktop (Linux)
- Install the WireGuard client for your OS.
- Copy the
.conffile into the/etc/wireguarddirectory.
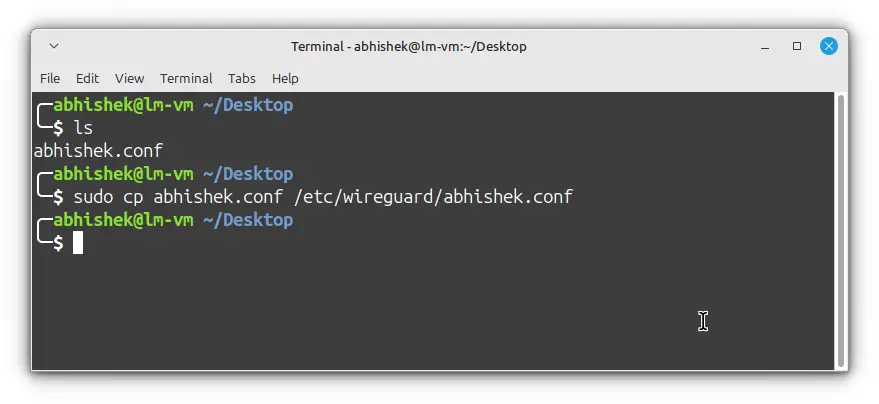
- Connect to the VPN.
Conclusion
And just like that, we now have our own self-hosted VPN up and running! No more sketchy public Wi-Fi risks, no more ISP snooping, and best of all, full control over our own encrypted tunnel.
Honestly, PiVPN makes the whole process ridiculously easy compared to manually setting up WireGuard or OpenVPN from scratch.
It took me maybe 15–20 minutes from start to finish, and that’s including the time spent debating whether I should stick to my usual WireGuard setup or try OpenVPN just for fun.
If you’ve been thinking about rolling your own VPN, I’d say go for it. It’s a great weekend project that gives you actual privacy, plus it’s a fun way to dive into networking without things getting overwhelming.
Now, I’m curious, do you already use a self-hosted VPN, or are you still sticking with a paid service?
And hey, if you’re looking for a simpler “click-and-go” solution, We've also put together a list of the best VPN services, check it out if self-hosting isn’t your thing!
Recommended Comments