How to Use Ansible for Automated Server Setup
By Blogger
· 108 views
Mon, 23 Jun 2025 12:34:03 +0000
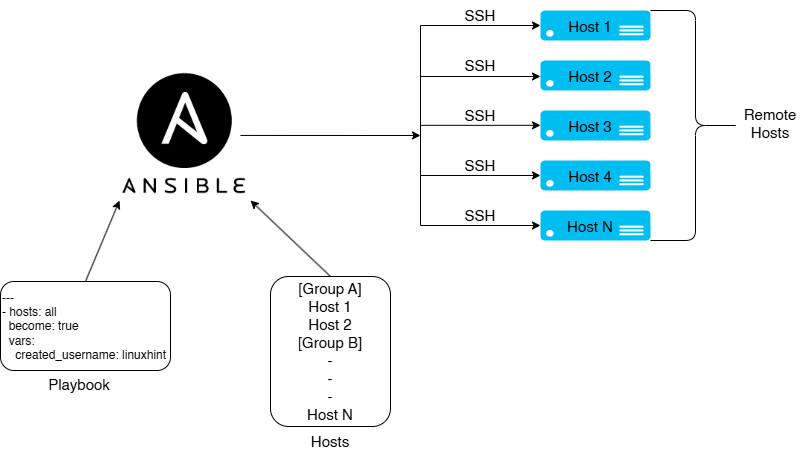
Basic Workflow of Ansible | What components are necessary
Ansible Control Node IP: 192.168.140.139 (Where Ansible is configured)
Ansible Host IPs: {
Server 1 [172.17.33.7]
Server2 [192.168.18.140]
}
Inventory File:
Default inventory file location: /etc/ansible/hosts. Usually, it is not available when we install Ansible from the default repositories of the distro, so we need to create it anywhere in the filesystem. If we create it in the default location, then no need to direct Ansible to the location of the file.
However, when we create the inventory file other than the default, we need to tell Ansible about the location of the inventory file.


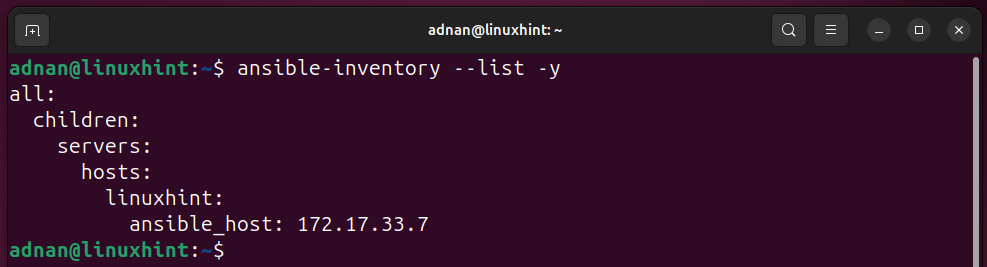
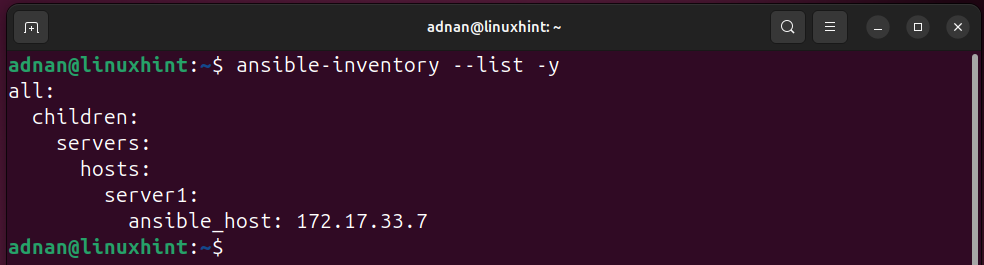
Inventory listing (Verifying the Inventory Listing):
SSH (as it is the primary connection medium of Ansible with its hosts):
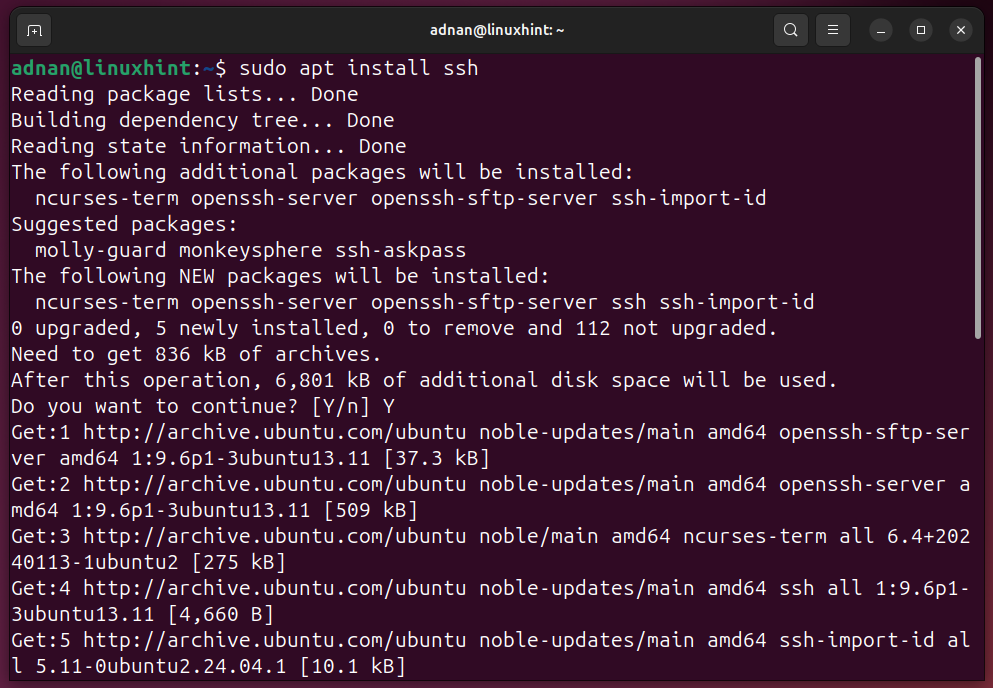
Allow port 22 through the firewall on the client side:

Let’s check the status of the firewall:

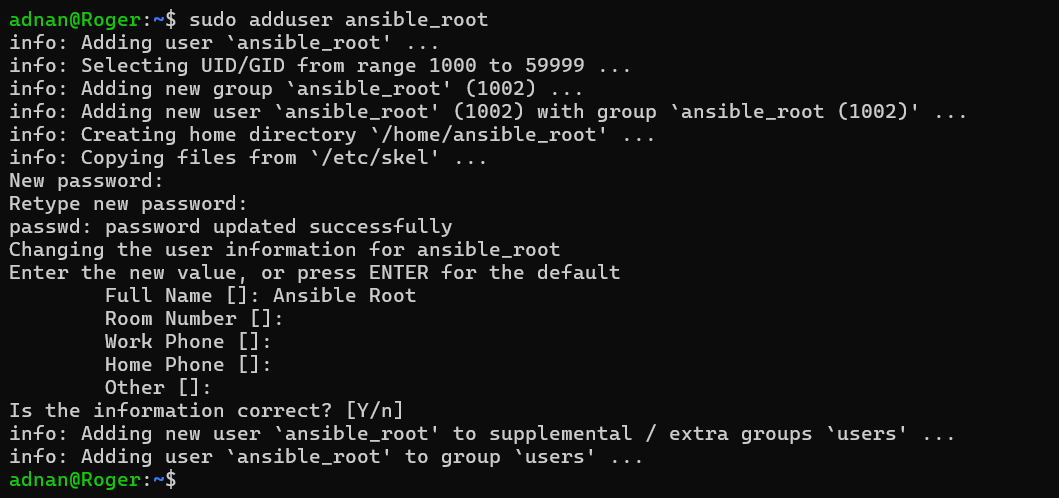
Step 2: Establish a No-Password Login on a Specific Username | At the Host End
Create a new dedicated user for the Ansible operations:
Adding the Ansible user to the sudo group:

Add the user to the sudo group (open the sudoers file):

SSH Connection (From Ansible Control Node to one Ansible Host):
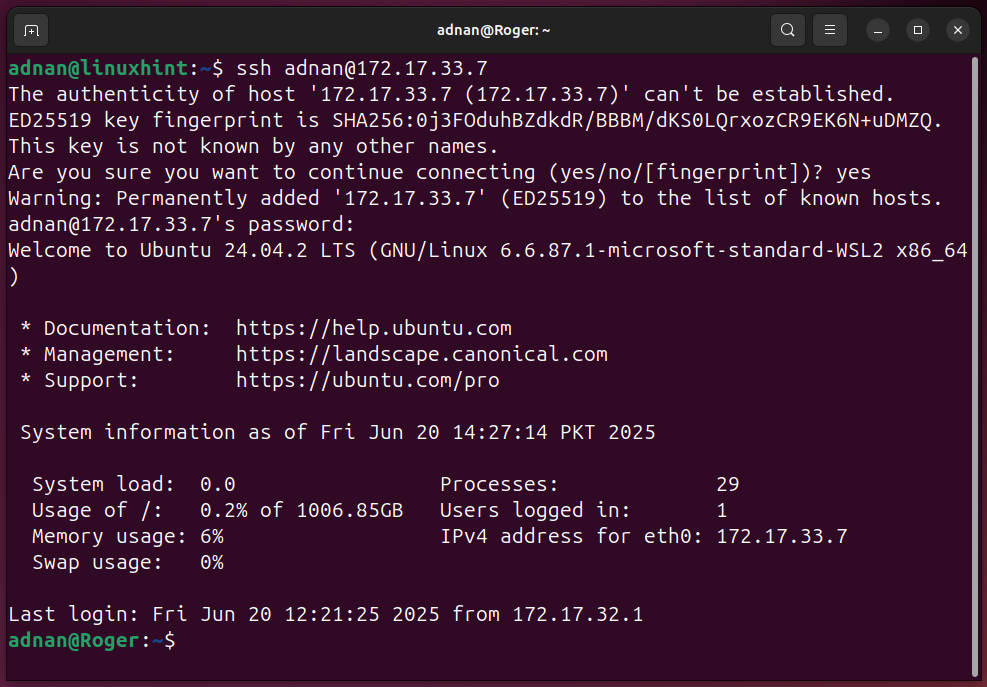

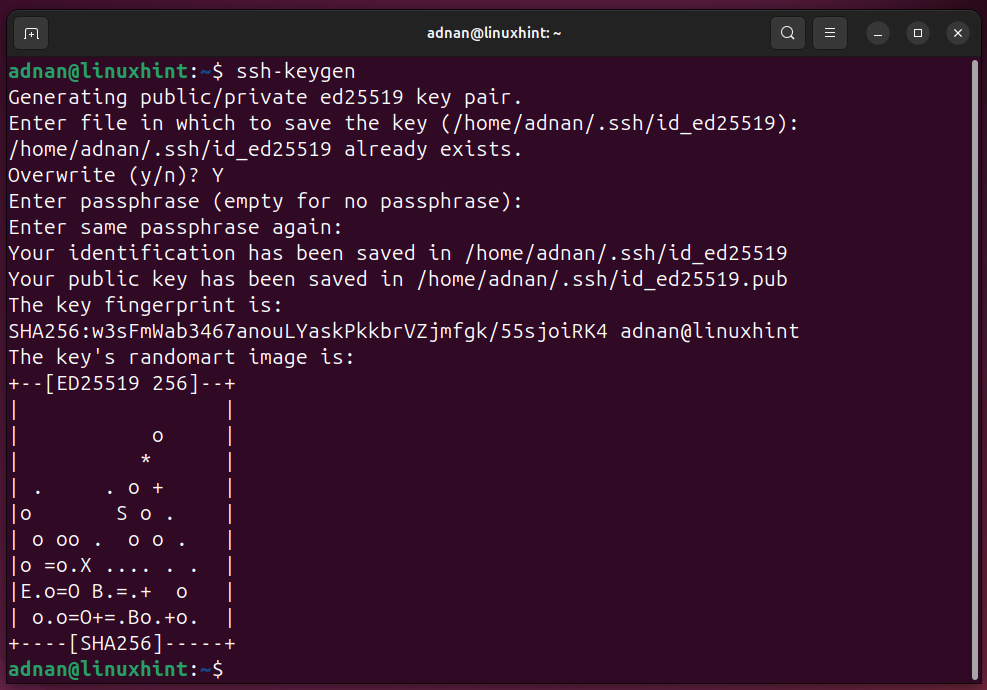
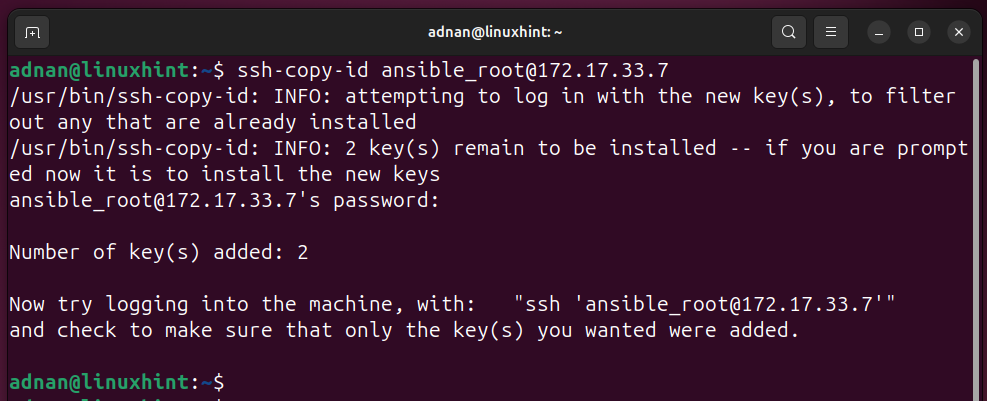
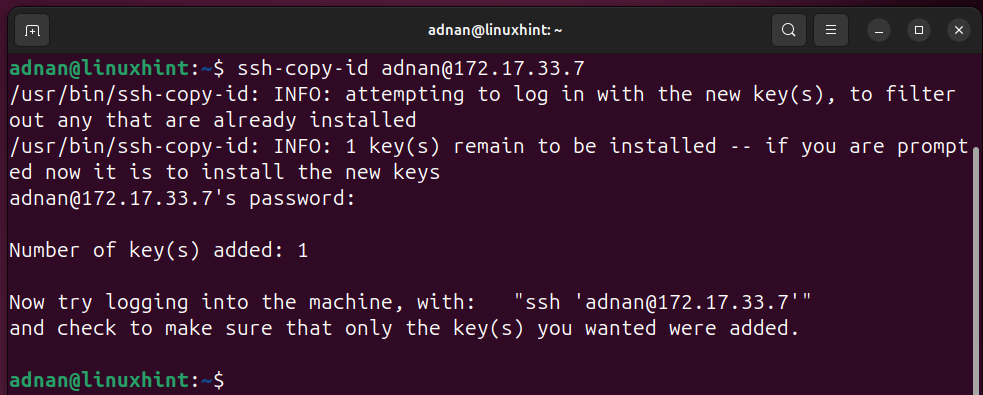
SSH key generation and copying the public key to the remote host:
Note: Copy the public key to the user that you will be using to control the hosts on various machines.
Test All the Servers Listed in the Inventory File:
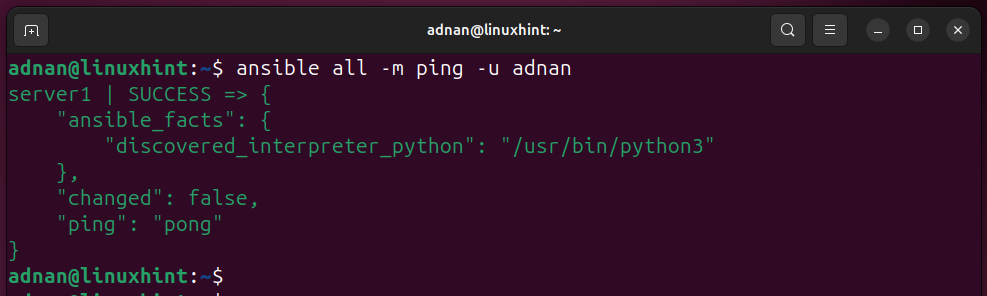
Testing the Ansible Connection to the Ansible host (remember to use the username who is trusted at the host or has a passwordless login). I have the user “adnan” as the trusted user in the Ansible user list.
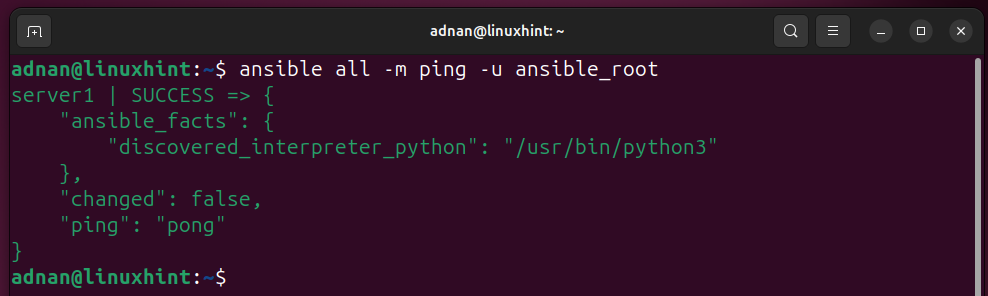
Same with the different username configured on the host side:
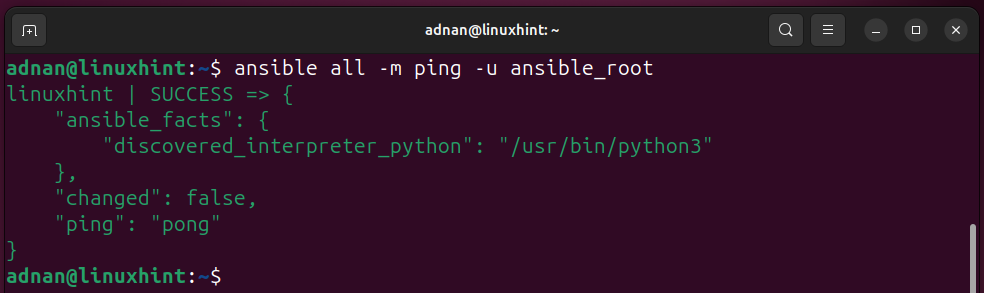
We can ping a specific group, i.e., in our case, we have a group named [servers] in the inventory.
Recommended Comments