Move Between the Distros: Back Up and Restore Your Snap Packages
By Blogger
· 10 views
Fri, 21 Nov 2025 04:43:20 GMT
The Snap packaging system makes it easy to install and update software on any Linux distribution that supports them. However, if you’ve ever had to reinstall your system, you’ve probably been burned by the fact that Snap, like most other packaging systems, doesn’t provide any built-in means for exporting your apps or moving them to a new machine.
Thankfully, there's good news: You can still. With just a few commands and a bit of organisation, you can export and restore your Snap applications on any other system where it's supported.
🚧 Some things to keep in mind
Before you dive in, there are some key things to understand about the Snap packaging system and how it works. Snap doesn’t yet have a built-in “export/import” tool like Flatpak. Neither packaging format allows you to repackage any packages you've already installed.
Furthermore, with the Snap system, reinstalling restores the latest version of the package, not necessarily the exact revisions you previously had. Since many apps store extra data under /var/snap/, you'll likely need to restore this data as well, if you're seeking to retain your settings when migrating. This article will show you how you can back up and restore this directory as well.
⚠️ What this tutorial cannot cover
Occasionally, Snap packages require hooks to enable certain features and integrations. Unfortunately, this is a more complicated process and must be done on a per-package basis. For this reason, we won't cover how to do this for individual packages, as that process can differ for each package that requires it.
Now, let's dive in.
Step 1. Creating a list of installed snap packages
To get started, you'll first need to save a list of every Snap package currently installed on your system:
snap list --all | awk 'NR>1 {print $1}' > snap-list.txt
This will create a text file with the names of all your Snap packages. As with most other packaging systems, package names are all you need to refer to the packages you want to manage. However, if you'd keep a note of further details in this list, you can do so with the following command:
snap list --all > snap-list-detailed.txt
Step 2. Backing up your app data
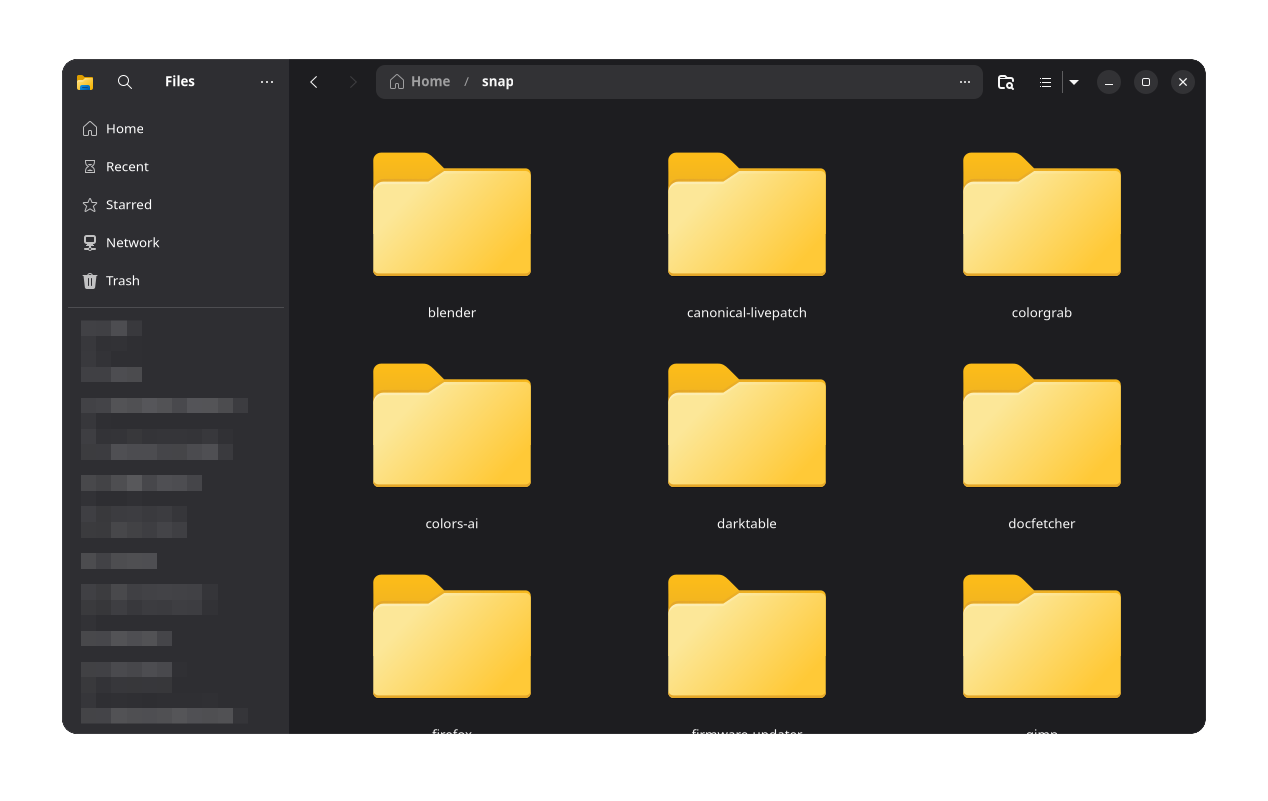
Snap packages store their data and settings in your home folder within the ~/snap directory. Each app saves its data in a subdirectory of the same name. For example, Inkscape saves its data in /snap/inkscape Firefox in /snap/firefox, and so on.
You can back up individual apps if you'd like, but for the purposes of this tutorial, we'll run through how to back up the entire directory.
To do this, you can run:
tar -czf snap-data-backup.tar.gz ~/snap/
Remember to copy this file along with snap-list.txt to the target system where you'll be restoring your packages.
Step 3. Transferring to the target system
On the target system, you should first ensure Snap is installed and working.
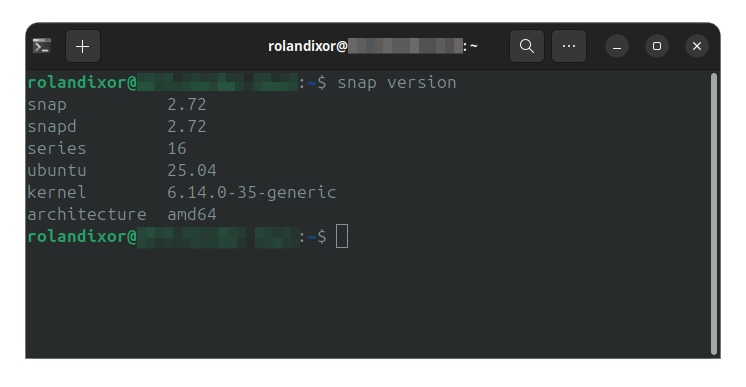
For the best results, it's safest if the target system has the same or a newer version of Snap compared to the original. You can check the Snap version on both systems by running the following command:
snap version
If you get output showing your snap version and other data, you’re ready to go.
Installing your packages on the target system
In the same directory where you've copied the snap-list text file, run the following command to install the snap packages from your list:
xargs -a snap-list.txt sudo snap install
Once this command is finished running, you'll have all the same Snap apps and packages you'd have had on your previous system. Now, you can move on to restoring your app data.
You can verify your apps successfully installed by running:
snap list
4. Restoring app data
Now that you've successfully restored your Snap apps and packages, you can restore your Snap package data. To do this, you can decompress the archive you created earlier in your home folder:
tar -xzf snap-data-backup.tar.gz -C ~/
Remember, if you've done this for multiple users, this will need to be done in each user's home folder individually.
Optional bonus for advanced users: Automating your setup
If you regularly install or change your Snap packages, and you'd like to run this step more smoothly, you can automate it all with some simple scripting and cron.
Creating the script
For the script, you just to tie these commands together. Create a file such as ~/bin/snap-back.sh, and give it executable permission:
# Create the script:
touch ~/bin/snap-back.sh

# Give it executable permission:
chmod +x ~/bin/snap-back.sh
Now edit the script with the text editor of your choice, and add the following:
#!/bin/bash
# Backup Snap package list and user data
snap list --all | awk 'NR>1 {print $1}' > ~/snap-list.txt
tar -czf ~/snap-data-backup.tar.gz ~/snap/

# Optional: enable logging
echo "Snap backup completed on $(date)" >> ~/snap-backup.log
If you don't need to keep a log, you can remove the last line (and the comment above it).
Automating it all
If you'd like to have this back up run at regular intervals, you can schedule this process with cron:
# Open your crontab
crontab -e
In the editor, add this line:
0 10 * * SUN ~/bin/snap-back.shThis will set your Snap package backup to run automatically at the beginning of every week. You can choose any interval you'd prefer, of course.
Conclusion
Even though Snap doesn't offer the same level of convenience as Flatpak, these steps still give you a dependable and scriptable way to preserve and transfer your setup. This is especially useful if you love to maintain the same setup across devices or like to do a fresh installation on upgrade. Remember, you can always keep your setup synced to a version control system or your personal cloud server.
Recommended Comments